
Chocolate Syrup Recipe- With Canning Instructions
I love having chocolate syrup on the pantry shelf for special treats. When I make it from scratch, I know exactly what’s in it — no artificial flavors, no weird preservatives, and none of the junk ingredients that sneak into most store-bought bottles. This version is rich, smooth, and deeply chocolatey, and it’s perfect for chocolate milk, ice cream, homemade mocha coffees, and just about anything else you’d want to drizzle chocolate over.
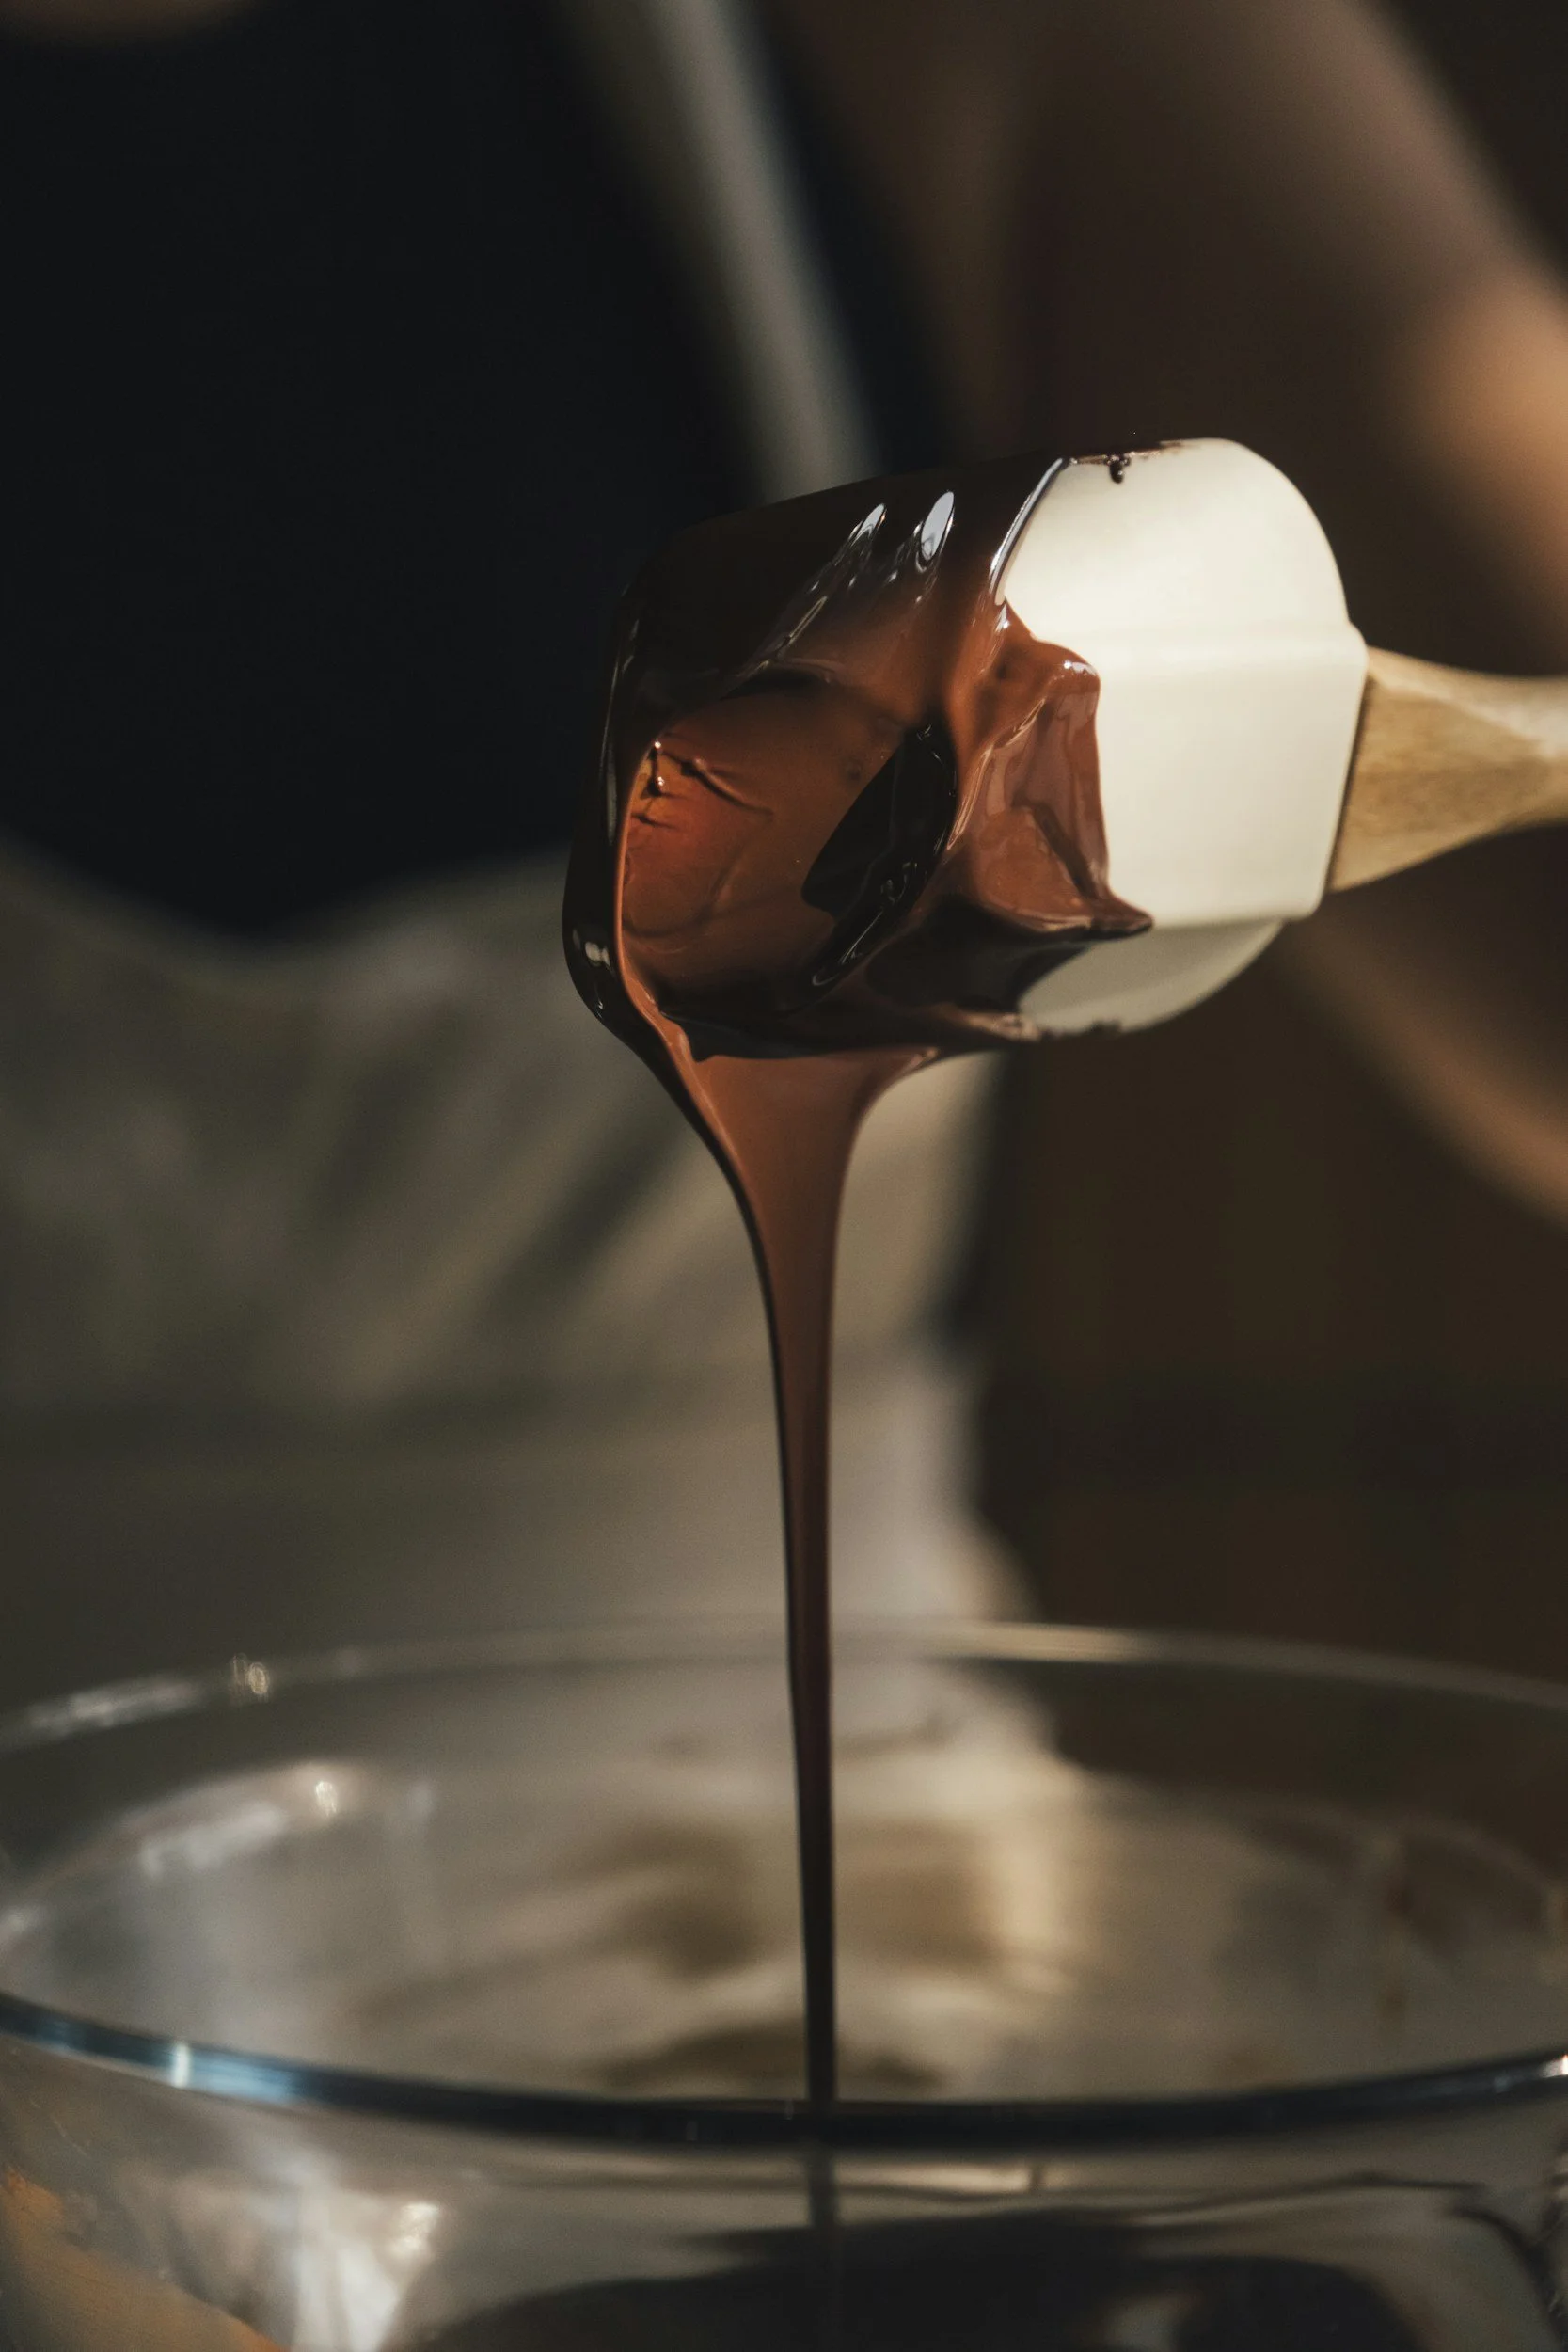
You can adjust the thickness to suit your preferences. For a thicker sauce, simply cook it down a little longer — just remember that it will continue to thicken as it cools.
Note: this is an amish or “rebel canning” recipe, I make it and feel comfortable with it but you are incharge of yourself. 😉
Ingredients
6 cups water
9-12 cups of sugar (I use an organic cane sugar)
3 cups unsweetened cocoa powder (I also love using Cacao powder)
1 teaspoon salt
Up to 6 tablespoons vanilla extract - optional and can be easily subbed for some (lesser quantity, make sure to taste as you go) mint or orange extracts for a fun flavor twist!
Variation Notes:
Fruity Syrup:
if you want to make a fruity chocolate syrup (so delicious) I sometimes add up to 6 cups of fresh or frozen acidic fruit such as strawberries, raspberries, or cherries, chopped fine or pureed and reduce the water to around 4 cups.
(if you are looking for a “ball approvd” recipe there is one with added lemon juice)Mexican Hot Chocolate:
3 tablespoons ground cinnamon
1–2 teaspoons cayenne pepper (start with 1; you can always increase)
Optional: ½ teaspoon ground clove
Optional: ½ teaspoon ground nutmeg
Coffee:
2–4 tablespoons espresso powder
Step 1: Prepare the Syrup
Add all ingredients to a large stockpot. Place over medium/low heat and slowly bring it up to a gentile simmer, whisking almost constantly until the sugar is fully dissolved and the cocoa is well incorporated.
Once the mixture reaches a gentle simmer and begins to thicken slightly, remove it from the heat. Do not rush this step — slow heating helps prevent scorching and gives you a smoother syrup.
The syrup will continue to thicken slightly during canning and again as it cools.
Step 2: Canning
Ladle the hot chocolate syrup into prepared mason jars, leaving ½ inch headspace.
Remove air bubbles and adjust headspace if needed. Wipe rims clean, then apply lids and secure with bands.
Process half-pint or pint jars in a water bath canner for 20 minutes, (I am at about 3k feet) adjust for elevation as necessary.
When processing is complete, remove jars and allow them to cool undisturbed on a heat-proof surface lined with a towel several hours or overnight.
Step 3: Storage
Once jars are fully cooled, remove bands and check seals. Wash jars, label, and store in your pantry.
For best flavor and quality, aim to rotate canned goods every 2 years, though they will last longer if needed. In our house, homemade chocolate syrup is never on the shelf more than 6 months!
Step 4: How to Use
Hot cocoa:
Add a few tablespoons of chocolate syrup to a mug of warm milk. Stir well and top with homemade marshmallows.
Chocolate milk:
Add one half-pint jar of syrup to a half gallon of milk (raw sheep milk is my favorite — hands down). Shake until fully mixed. Try not to drink the entire jar.
Notes
You can substitute whole milk for the water to make a milk chocolate syrup.
This is already an unapproved recipe for canning but adding milk really seals the deal on making this rebel canning, so proceed at your own discretion and increase processing time to 1 hour, adjusting for altitude as needed.If you’re not comfortable canning this recipe, simply let the syrup cool and store it in an airtight container or squeeze bottle in the refrigerator and freeze some for later.
Disclaimer: Please note that this is not an approved canning recipe. I personally use this recipe and feel safe about it, but you are completely responsible for the food you make, consume, and share with others so take this with a grain of salt folks!